User Guide

Comprehensive instructions for setting up and using your SecureKeySolutions hardware wallet.

Getting Started

Unboxing and Verification

Before setting up your device, it's important to verify its authenticity and ensure it hasn't been tampered with:

  • Inspect the packaging for signs of tampering or damage
  • Verify that the anti-tamper seal is intact
  • Check that the device shows no signs of prior use
  • Confirm that the box contains all accessories (USB cable, recovery cards, etc.)

All our devices ship with factory firmware that will prompt you to update during initial setup. This ensures you start with the latest security features.

Hardware wallet unboxing and verification process

Device Initialization

Follow these steps to initialize your hardware wallet:

  1. Connect your device to your computer using the provided USB cable
  2. The device will power on automatically and display the welcome screen
  3. Select "Create New Wallet" on the device screen (or in the companion app for models without screens)
  4. Follow the on-screen instructions to set up your PIN code
    • Choose a strong PIN between 6-8 digits
    • Avoid easily guessable sequences (birthdays, repeating numbers, etc.)
    • You'll need to enter this PIN each time you use the device
  5. Your device will now generate a new recovery seed

Important: Never initialize your device in public places or where cameras might be present. The recovery seed displayed during setup provides complete access to your funds.

Backing Up Your Recovery Seed

The recovery seed is the most critical security element of your hardware wallet. It allows you to recover all your funds if your device is lost, stolen, or damaged:

  1. Your device will display a 12 or 24-word recovery seed phrase (depending on model)
  2. Write down each word carefully on the provided recovery cards
    • Double-check each word for accuracy
    • Maintain the exact order of the words
    • Consider making multiple copies
  3. Verify the recovery seed by re-entering the words when prompted by the device
  4. Store your recovery seed in a secure location
    • Consider using a fireproof and waterproof container
    • For high-value holdings, consider splitting the seed across multiple secure locations
    • Our Steel Recovery Backup product provides enhanced physical protection

Critical Warning: Never store your recovery seed digitally (no photos, no text files, no cloud storage). Never share it with anyone, including SecureKeySolutions support staff. We will never ask for your recovery seed.

Installing the Companion Software

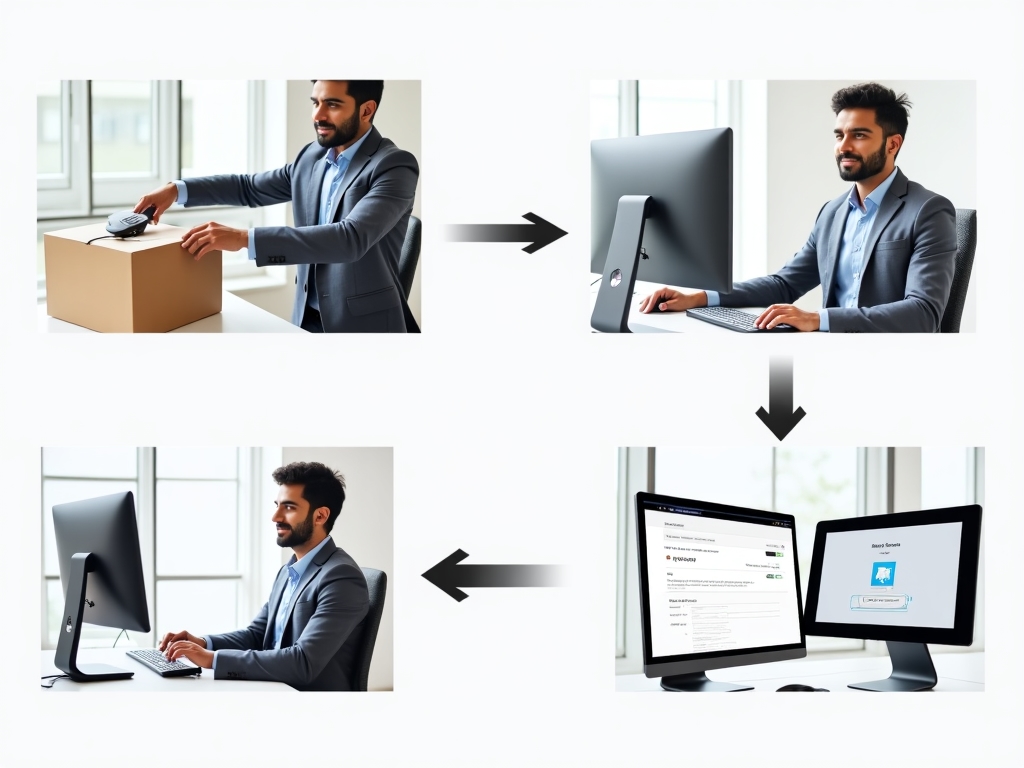
Our hardware wallets work with companion software that provides a user-friendly interface while keeping your private keys secure on the device:

  1. Visit the SecureKeySolutions website and navigate to the Downloads section
  2. Download the appropriate software for your operating system
    • Windows (7, 8, 10, 11)
    • macOS (10.13 or later)
    • Linux (Ubuntu 18.04 or later)
  3. Verify the download integrity using the provided checksum
  4. Install the software following the on-screen instructions
  5. Launch the application and connect your hardware wallet when prompted
  6. The software will automatically detect your device and guide you through any remaining setup steps

Note: Our software is open-source and has been audited by independent security researchers. Advanced users can verify the code on our GitHub repository.

Adding Cryptocurrency Accounts

Once your device is initialized and the companion software is installed, you can add cryptocurrency accounts:

  1. Open the companion software with your device connected
  2. Navigate to the "Accounts" or "Portfolio" section
  3. Click "Add Account" or the "+" icon
  4. Select the cryptocurrency you want to add (Bitcoin, Ethereum, etc.)
  5. The software will communicate with your device to generate the appropriate addresses
  6. Confirm the account creation on your hardware wallet
  7. Your new account will appear in the portfolio overview

You can add multiple accounts for each cryptocurrency type, allowing you to organize your funds for different purposes (e.g., savings, trading, business).

Daily Operations

Receiving Cryptocurrency

  1. Connect your hardware wallet to your computer
  2. Open the companion software and enter your PIN when prompted
  3. Navigate to the account where you want to receive funds
  4. Click "Receive" or the equivalent button
  5. The software will communicate with your device to generate a receiving address
  6. Verify the address on both your computer screen and hardware wallet display
  7. If the addresses match, confirm on your device
  8. Share the verified address with the sender

Security Tip: Always verify receiving addresses on your hardware wallet's screen. This protects against address manipulation malware.

Sending Cryptocurrency

  1. Connect your hardware wallet to your computer
  2. Open the companion software and enter your PIN when prompted
  3. Navigate to the account from which you want to send funds
  4. Click "Send" or the equivalent button
  5. Enter the recipient's address and the amount to send
  6. Review the transaction details, including network fees
  7. Click "Continue" or "Review" to proceed
  8. Verify all transaction details on your hardware wallet's screen
    • Recipient address
    • Amount
    • Fee
  9. If everything is correct, confirm the transaction on your device
  10. The signed transaction will be broadcast to the network

Important: Cryptocurrency transactions are irreversible. Always double-check the recipient address and amount before confirming.

Managing Multiple Accounts

Our hardware wallets support multiple accounts for each cryptocurrency, allowing you to organize your funds effectively:

  • Account Segregation - Keep funds separated for different purposes (personal, business, trading)
  • Privacy Enhancement - Use different accounts for different transactions to improve privacy
  • Portfolio Management - Track performance of different investment strategies

All accounts are derived from your single recovery seed, so you don't need multiple backups. To add a new account:

  1. Navigate to the Accounts section in the companion software
  2. Click "Add Account" and select the cryptocurrency
  3. Optionally provide a custom name for the account
  4. Confirm the account creation on your device

Firmware Updates

Regular firmware updates are essential for security improvements and new features. To update your device:

  1. Connect your device to your computer
  2. Open the companion software
  3. If an update is available, you'll see a notification
  4. Click "Update" to begin the process
  5. The software will download the firmware update
  6. Your device will display update confirmation information
  7. Verify the update details and confirm on your device
  8. Wait for the update to complete (do not disconnect during this process)
  9. Your device will restart automatically

Note: Always ensure you have your recovery seed accessible before performing firmware updates, although problems are extremely rare.

Advanced Features

Passphrase Protection

For enhanced security, you can add an optional passphrase (sometimes called a "25th word") to your recovery seed:

  • What it does: Creates a completely new set of accounts based on your recovery seed + passphrase
  • Benefits: Provides plausible deniability and protection against physical threats
  • Considerations: Must be memorized, as it's not stored on the device

To enable passphrase protection:

  1. Connect your device and open the companion software
  2. Navigate to Settings > Security
  3. Enable "Passphrase Protection"
  4. Confirm on your device
  5. When prompted, enter your desired passphrase

Warning: If you forget your passphrase, there is no way to recover your funds. It cannot be reset or recovered by anyone, including SecureKeySolutions.

Multi-Signature Setup

Multi-signature (multisig) requires multiple devices to authorize transactions, providing institutional-grade security:

  • What it does: Creates addresses that require M-of-N signatures (e.g., 2-of-3)
  • Benefits: Protects against single points of failure, enables shared control
  • Use cases: Business treasuries, family wealth, high-value holdings

To set up a multi-signature wallet:

  1. Prepare all hardware devices you plan to include
  2. Install specialized multisig software (available on our website)
  3. Create a new multisig wallet in the software
  4. Connect each device and export the required public keys
  5. Define the signing threshold (how many signatures required)
  6. Verify and confirm the setup on each device

Our QuantumSafe Pro model includes enhanced support for multi-signature operations with a simplified user interface.

Biometric Authentication

Our BiometricFortress model features integrated fingerprint authentication for enhanced security and convenience:

  • What it does: Allows device unlocking with your fingerprint instead of (or in addition to) PIN
  • Benefits: Faster access while maintaining security, protection against shoulder-surfing
  • Security: Fingerprint data never leaves the device's secure element

To set up biometric authentication:

  1. Navigate to Settings > Security > Biometric Authentication
  2. Select "Enroll Fingerprint"
  3. Follow the on-screen instructions to scan your finger multiple times
  4. Set whether you want to use fingerprint for device unlock, transaction confirmation, or both
  5. Configure fallback PIN for situations where biometric authentication fails

Note: Biometric authentication is always optional and can be disabled at any time. Your PIN remains a valid authentication method even when biometrics are enabled.

Knowledge Base

Can't find what you're looking for? Contact our support team for personalized assistance.

Contact Support